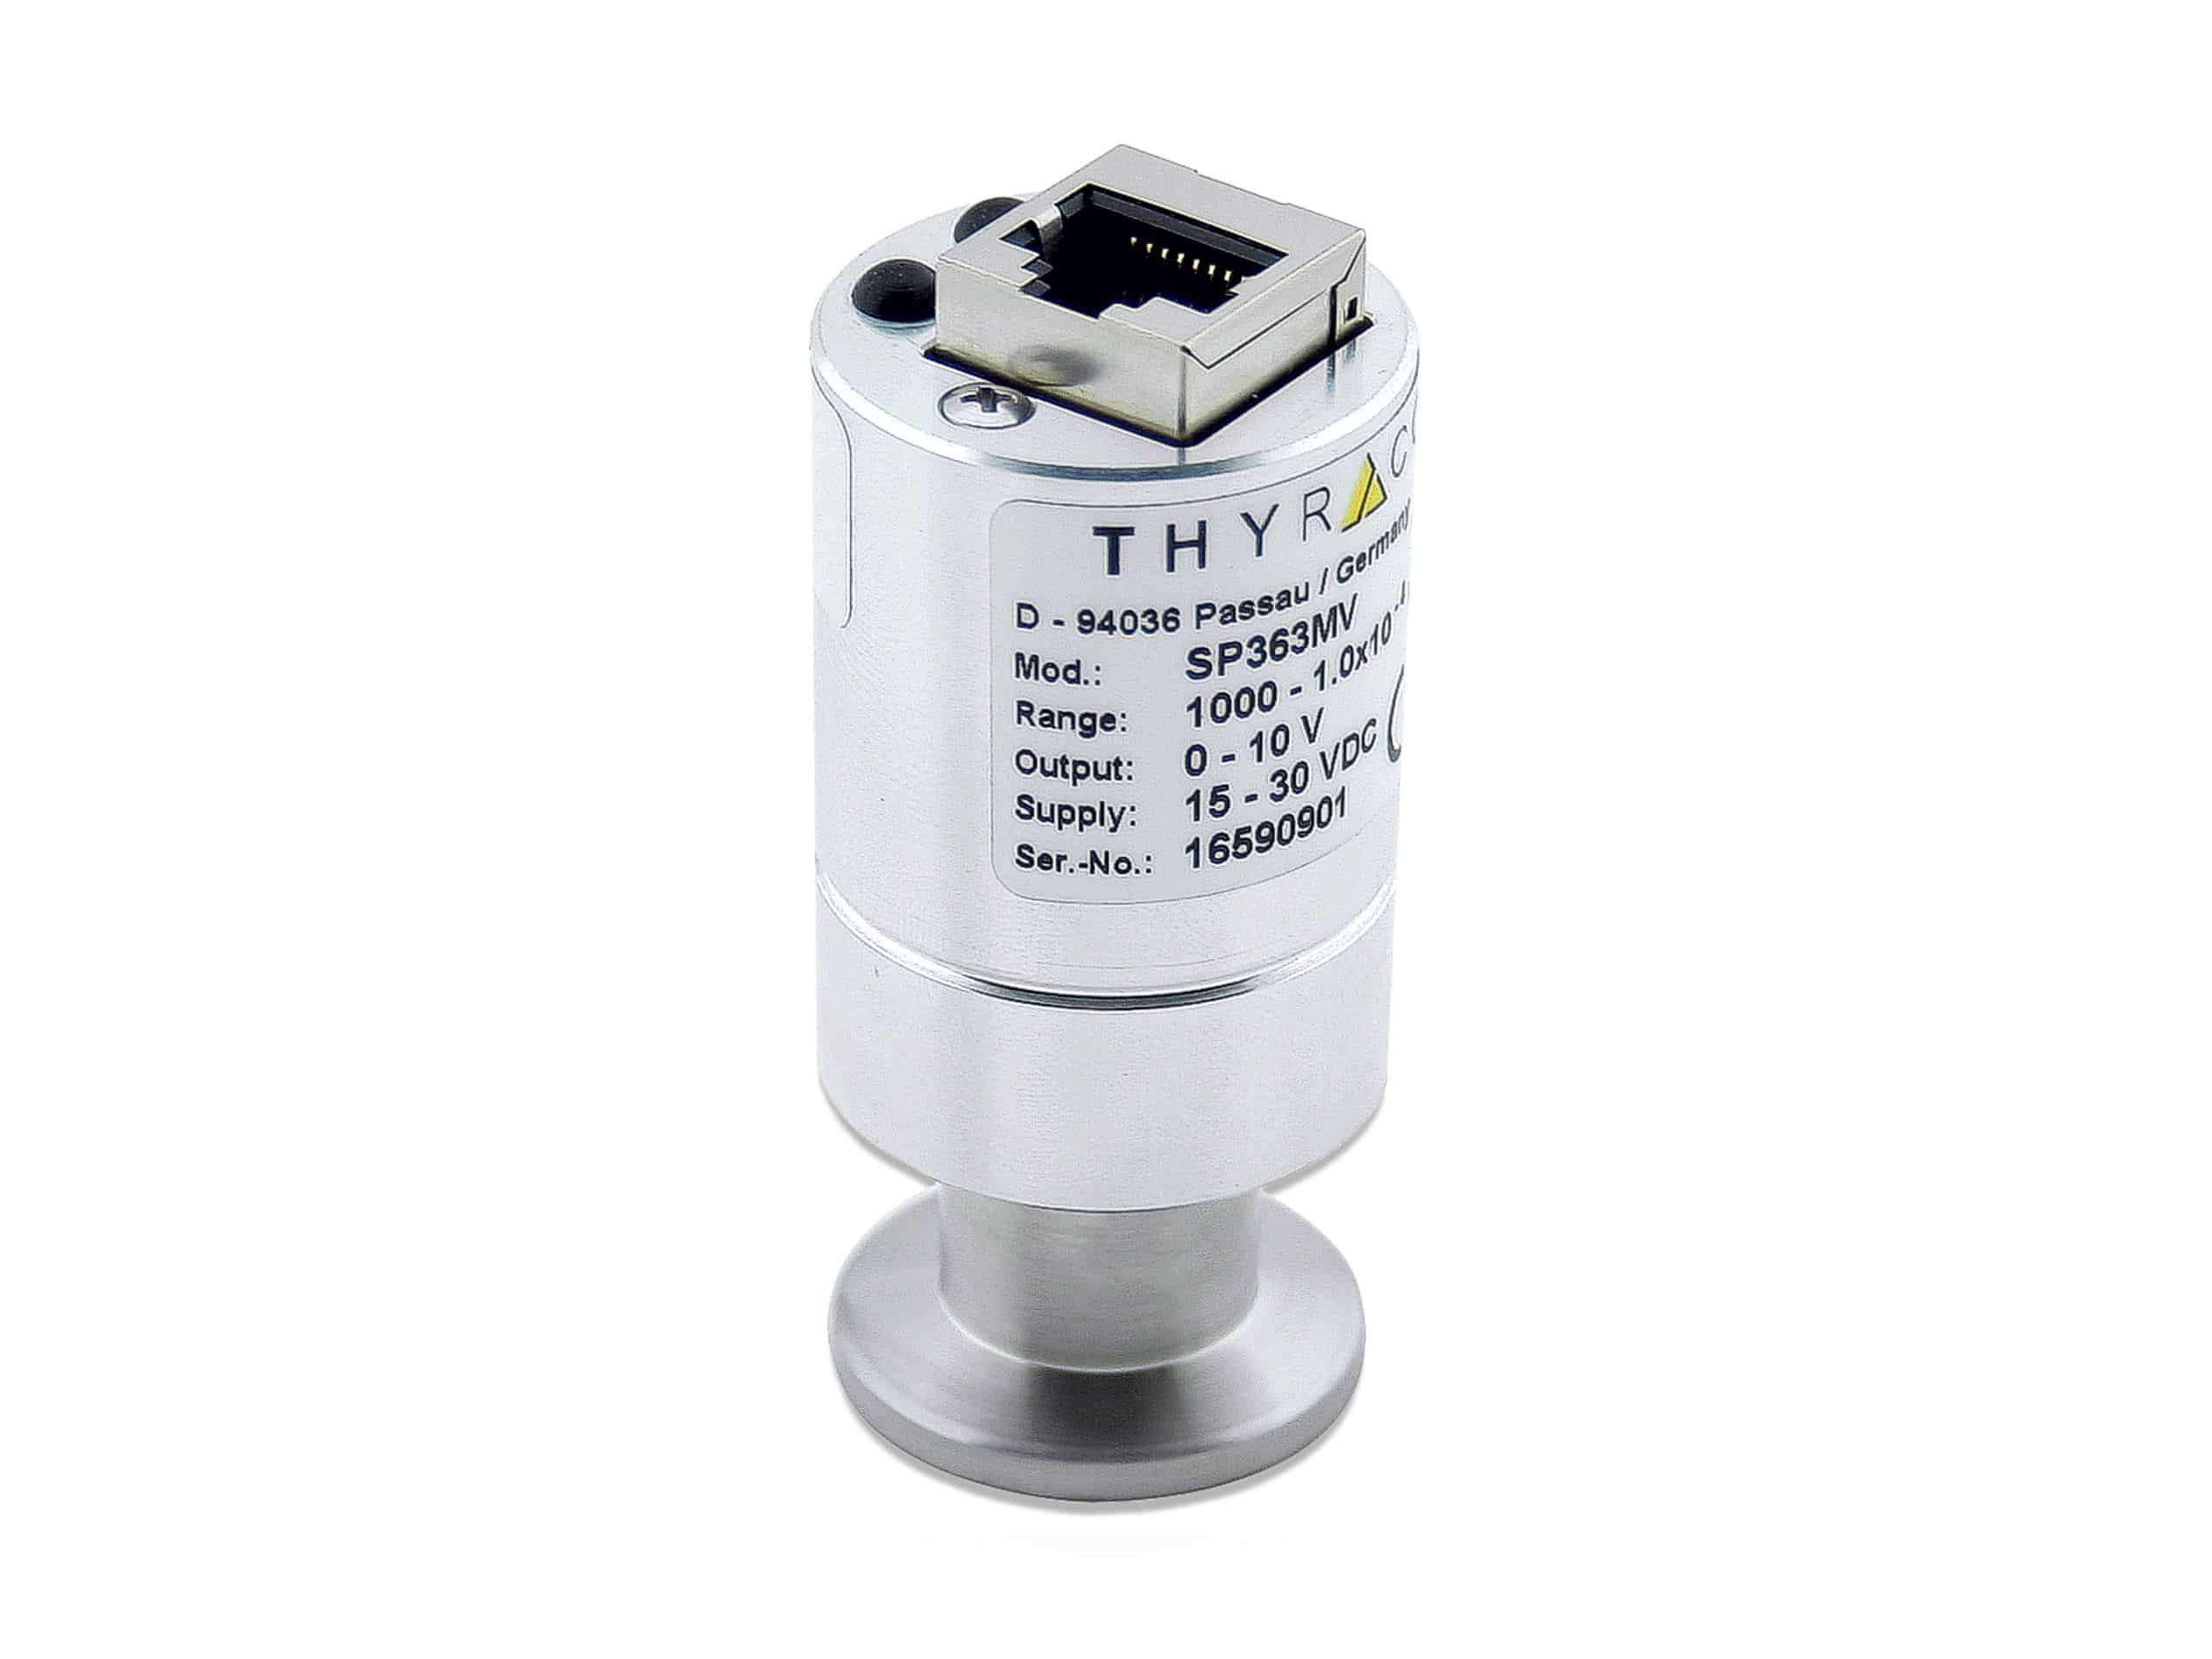
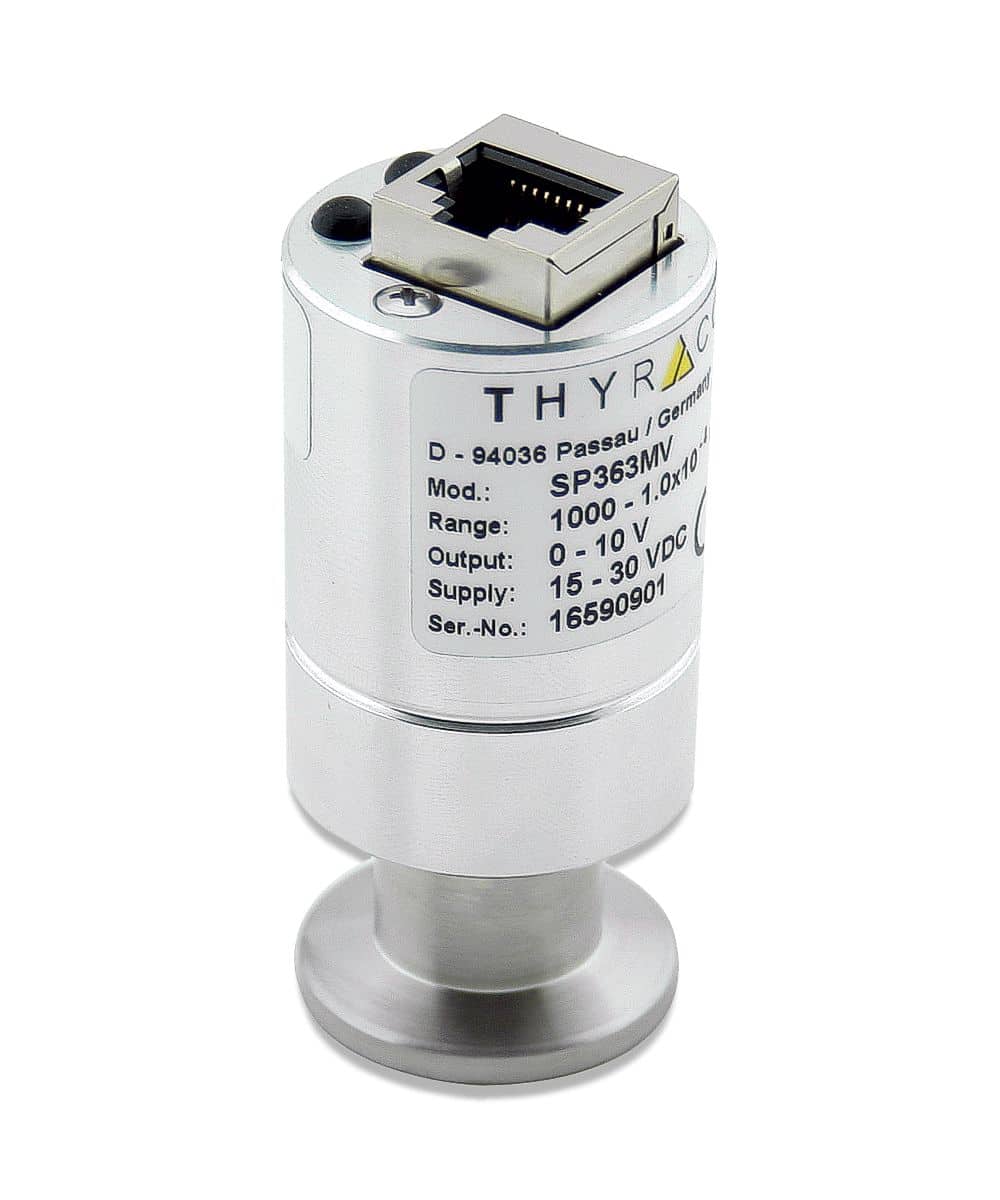
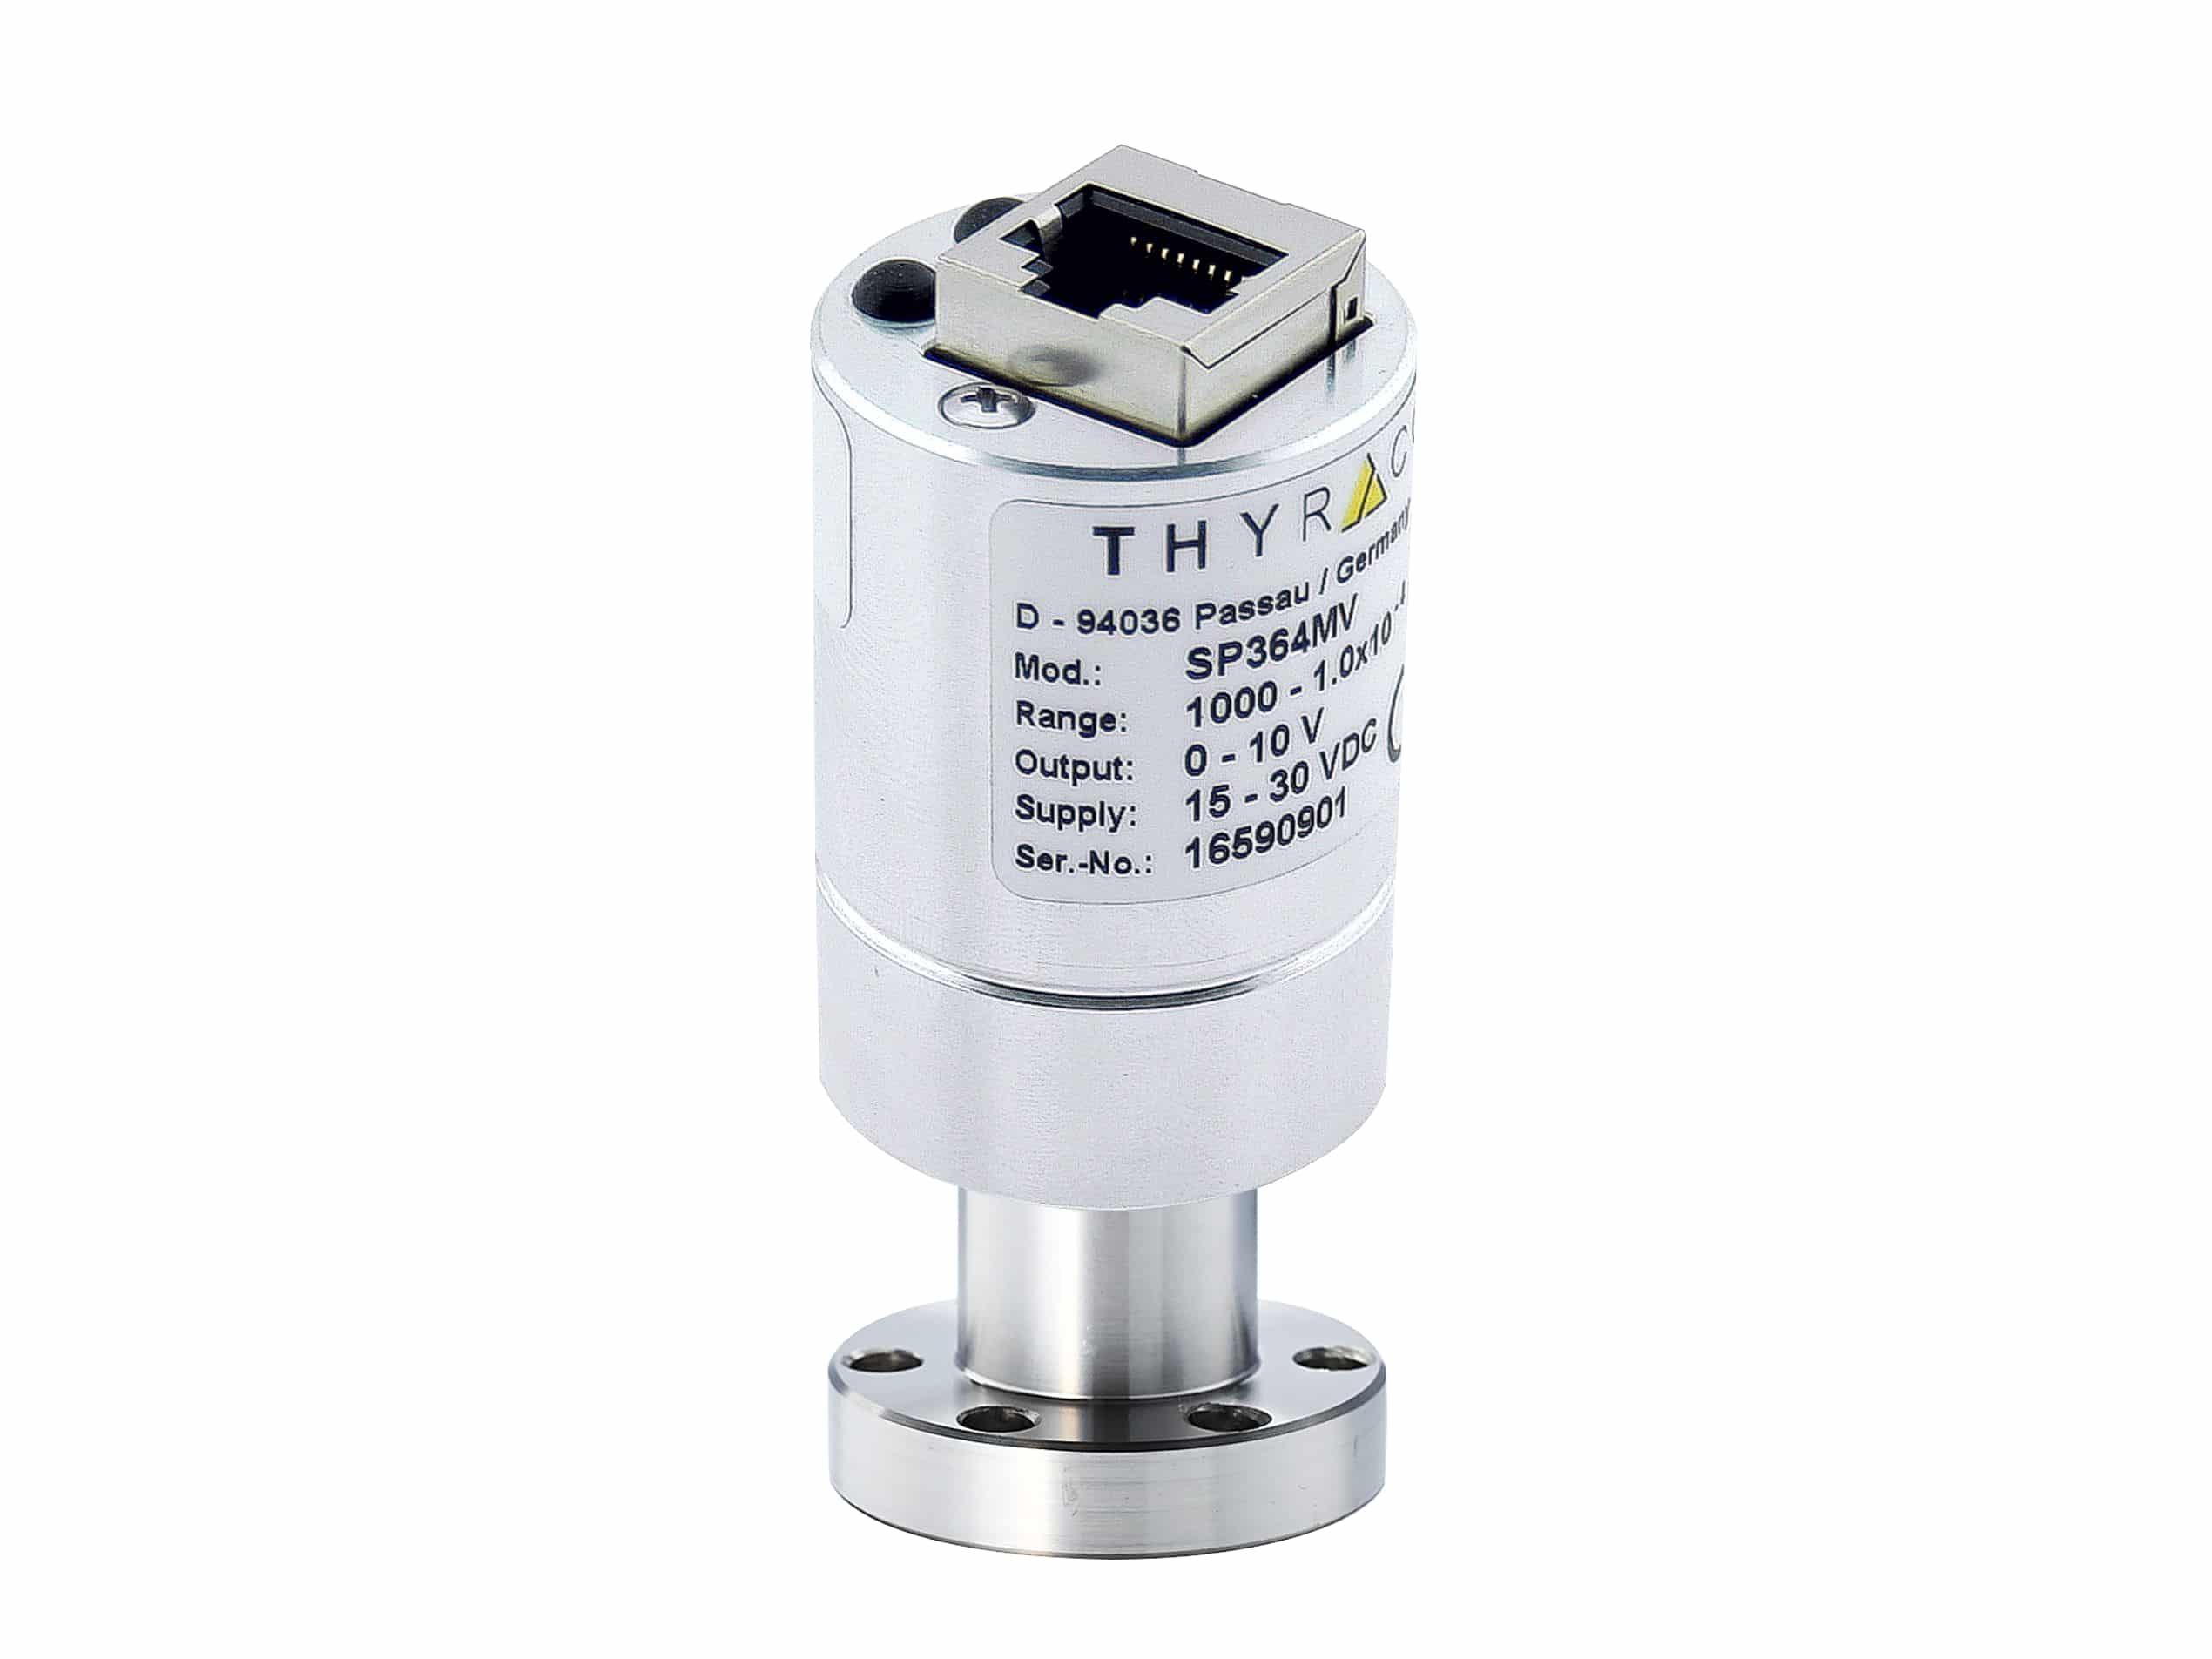
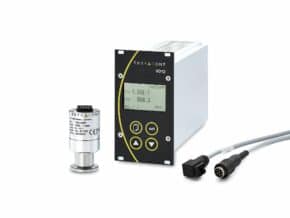
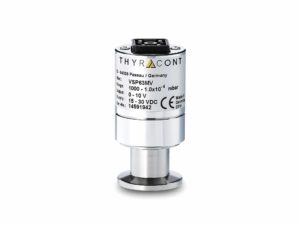
SP3 Vacuum Transducer ● Pirani ● 1000 to 1e-4 mbar ● analog ● FCC68
€ 338.00 – € 362.00 excl. VAT and transport costs
The SP363 Pirani vacuum transducer of the Analogline product family measures absolute pressure in the range of 1000 to 1e-4 mbar.
The SP363 Pirani vacuum transducer of the Analogline product family measures absolute pressure in the range of 1000 to 1e-4 mbar.
Overview SP363 vacuum transducer with Pirani sensor:
-
Analog signal output 0-10 V, logarithmic, 1,286 V / decade
-
Durable, elastic Pirani helix filament
- Patented impulse Pirani with extended measuring range; very high resolution also in the rough
vacuum range - Integrated metal facing for protection against contamination like oil vapours or solvent vapours
- Highest reliability
- Excellent reproducibility
- UHV suitable due to metal sealed stainless steel measuring cell (He leakage rate <5e-10 mbar l / s)
- Overpressure stability up to 16 bar
Overview Analogline vacuum transducers:
- Stable: Stable, reproducible measurement values due to its microprocessor controller and individual temperature compensation
- Long-living: With its robust metal housings and plugs with protection class IP54 (4-20 mA versions) or IP40 (0-10 V versions) the transducers are ideal for rugged industry environments
- Easy adjustment: Precise, digital adjustment to zero pressure and atmosphere at the push of a button. The vacuum transducer automatically recognizes the adjustment point
- Optimal cost-performance-ratio: The functionalities of the Analogline are reduced to minimum to achieve an optimal cost-performance-ratio
- Small dimensions: Compact construction, ideal for industrial applications with reduced space.
- Easy integration: The linear and logarithmic output signal of the transducer (optionally 4-20 mA or 0-10 V) can easily read out with a system control (PLC)
Do you have questions regarding our SP3 vacuum transducers with Pirani sensor? We will be pleased to assist.
→ Go to all vacuum transducers of the Analogline | → Go to accessories for all Analogline vacuum transducers
| Weight | 0.5 kg |
|---|---|
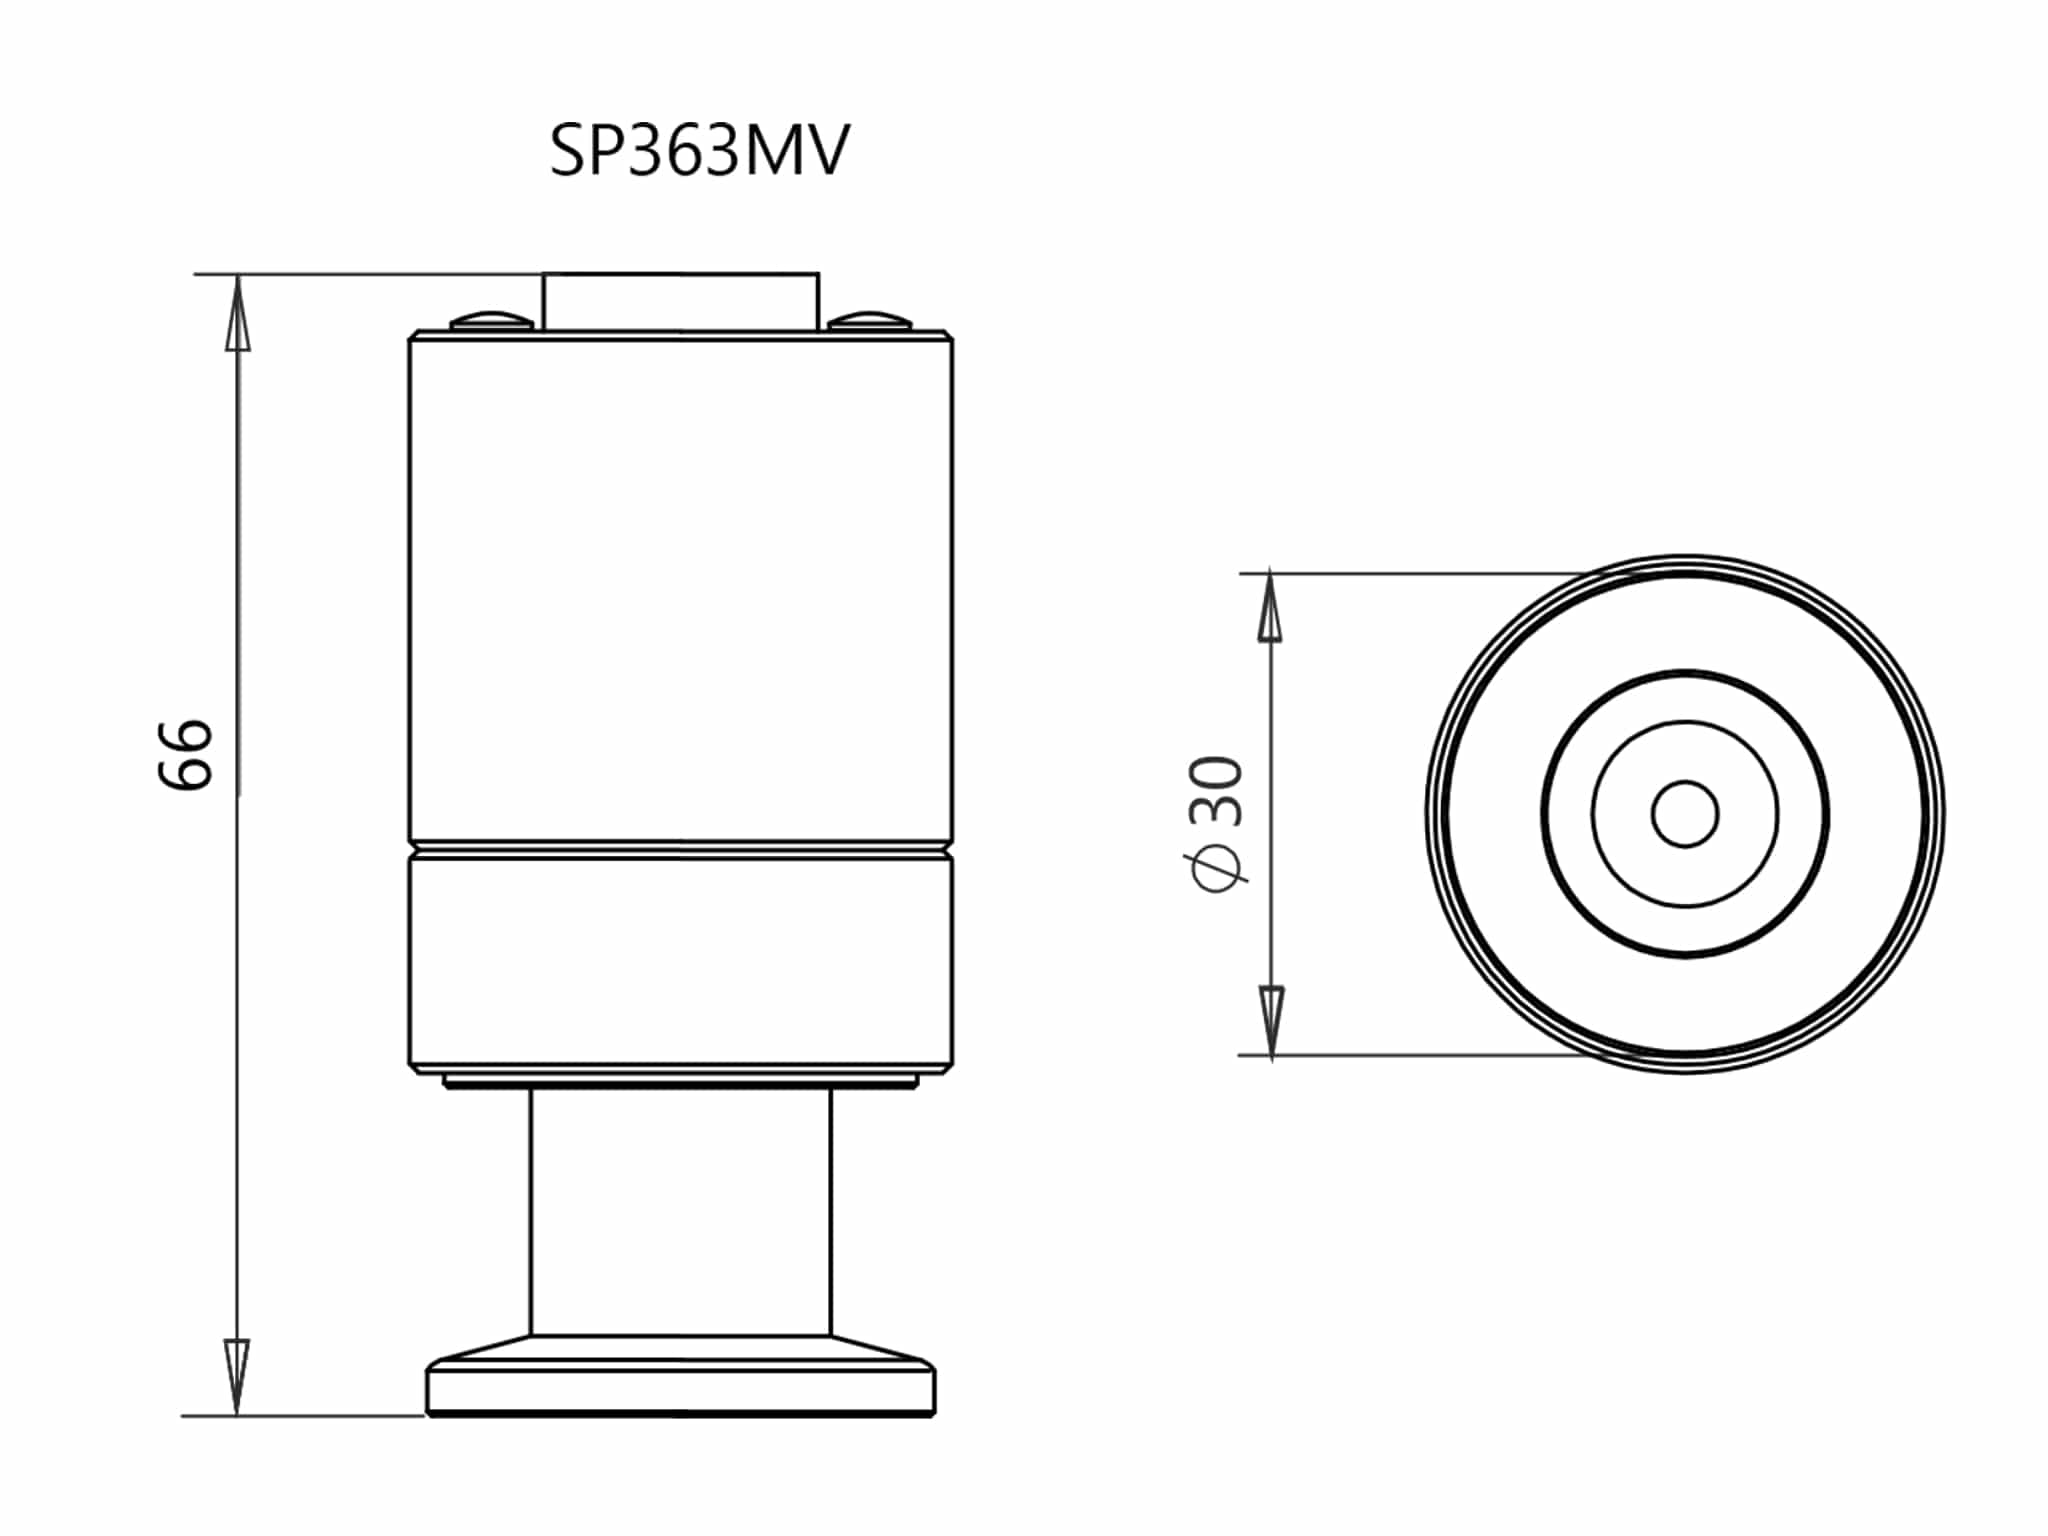
| Dimensions | 15 × 10 × 5 cm |
| Measurement principle | Heat conduction Pirani (impulse Pirani), Heat conduction (Impulse Pirani), depending on gas type |
| Measurement range mbar | |
| Measurement range Torr | 750 – 1e-4 Torr |
| Gas dependency | depending on gas type |
| Materials in contact with vacuum | Stainless steel 1.4307, tungsten, nickel, glass |
| max. overload | 10 bar abs., 16 bar abs. with CERT31P |
| Accuracy | 1000 – 20 mbar: ca. 30 % f. r. | 20 – 0.002 mbar: 10 % f. r. |
| Repeatability | 20 – 0.002 mbar: +-2 % f. r. |
| Response time | < 200 ms |
| Voltage supply | 15 – 30 VDC |
| Electrical connection | |
| Power consumption | Max. 1 W with 24 VDC supply voltage |
| Operating temperature | +5…+60 °C |
| Storage temperature | -20…+70 °C |
| Bake out temperature | Max. 150°C at the flange (transducer separated from voltage supply) |
| Output signal | |
| Output Signal (detailed) | 0 – 10 VDC, load > 10 kOhm range 1.0 – 10 VDC, logarithmic (1.286V / decade) |
| Vacuum connection | Conflat flange DN 16 CF (SP364MV), Small flange DN 16 ISO-KF (SP363MV) |
| Protection class | |
| Weight | 105 g (SP363MV) |
| Description | Data sheet 0-10V and 4-20 mA | Manual MV 0-10 V | Manual mA4 4-20 mA |
|---|---|---|---|
| VCC200 Capacitive Vacuum transducer | VCC200MA4 | VCC200MA4 |
|
| VSC43 Piezo Vacuum transducer | VSC43MV/VSC43MA4 | VSC43MV | VSC43MA4 |
| VSR Piezo/Pirani Vacuum transducer | VSR | VSR53MV/VSR54MV | VSR53MA4 |
| VSP6 Pirani Vacuum transducer | VSP62MV/VSP63MV/VSP63MA4/VSP64MV | VSP63MV/VSP64MV | VSP63MA4 |
| SP36 Pirani Vacuum transducer | SP363MV/SP364MV | SP363MV/SP364MV | |
| VCP6 Pirani Vacuum transducer for corrosive media | VCP63MV/VSP63MA4 | VCP63MV | VCP63MA4 |
| Analogline - Analog vacuum transducers, brochure | - | - |
| What does “piezoresistive” mean? By changing the pressure, a thin membrane deforms on which a resistor bridge is mounted on the rear. These piezoresisitive resistors change with strain and pressure. The resulting deformation is used to measure the absolute pressure. |
| Which advantages does the “ramp-impulse method” offer against the standard Pirani sensor? The patented “ramp-impulse method“ measures conductivity by timing the duration of heating of the Pirani filament. It works at lower filament temperatures, therefore uses less power and offers a wider measurement range. |
| Is the Pirani sensor protected against pollution and dirt? All Thyracont Pirani sensors are fitted with a cover which protects against basic condensation and pollution. If the sensors are used in an extremely polluted environment, it is advised to additionally either use an extension pipe, an elbow fitting, a cooling trap or a seal ring with a sinter filter. |
| Is it possible to clean the Pirani sensor? Depending on the type and intensity of the pollution, it is feasible to clean the sensor with isopropanol.In order to do so, you need to fill the measuring cell completely with isopropanol and let it rest for a few minutes. After removal of the fluid it is necessary for the cell to completely dry out. Please note that if e.g. oil debris is baked onto the filament and is very tough or even impossible to clean. |
| Do I have to mount the instrument into a specific position? The instruments can be mounted in every position. The best accuracy is achieved if the flange of the instrument is mounted horizontally because the instruments are calibrated in this position. It is not recommended to mount the sensor at the bottom of a pipe as condensate and dirt could be collected in the sensor cell. |
| How often do I need to recalibrate the compact vacuum meter? The period between calibrations depends on the specific application. Especially in cases of coatings and contaminations on the sensor-head or if it is used in extreme temperature conditions, readjust of the instrument can be neccessary. For quality assurance matters, we recommend to return the instrument for calibration every one or two years. We can offer a works calibration (article no. ADJCERT) or a DAkkS calibration (article no. DKDCERT). |
| Which output-signal is supplied by the sensor? The VSP841/2 itself does not supply an output-signal. It is a passive pirani-sensor without evaluation electronics. On request, we are happy to provide an evaluation switching suitable for your application. |
| Is the Pirani sensor protected against pollution and dirt? All Thyracont Pirani sensors are fitted with a cover which protects against basic condensation and pollution. If the sensors are used in an extremely polluted environment, it is advised to additionally either use an extension pipe, an elbow fitting, a cooling trap or a seal ring with a sinter filter. |
| Is it possible to clean the Pirani sensor? Depending on the type and intensity of the pollution, it is feasible to clean the sensor with isopropanol. In order to do so, you need to fill the measuring cell completely with isopropanol and let it rest for a few minutes. After removal of the fluid it is necessary for the cell to completely dry out. Please note that e.g. oil debris is baked onto the filament and is very tough or even impossible to clean. |
| Do I have to mount the instrument into a specific position? The instruments can be mounted in every position. The best accuracy is achieved if the flange of the instrument is mounted horizontally because the instruments are calibrated in this position. It is not recommended to mount the sensor at the bottom of a pipe as condensate and dirt could be collected in the sensor cell. |
| How often do I need to recalibrate the compact vacuum meter? The period between calibrations depends on the specific application. Especially in cases of coatings and contaminations on the sensor-head or if it is used in extreme temperature conditions, readjust of the instrument can be neccessary. For quality assurance matters, we recommend to return the instrument for calibration every one or two years. We can offer a works calibration (article no. ADJCERT) or a DAkkS calibration (article no. DKDCERT). |
| What is the difference between the VD6 and the VD12 gauge sets? The VD6 is a compact 1 canal display and control unit suited for instrument panels (48×96 mm) for the transducers VSC43MA4 and VSP63MA4 only. The instrument has a USB-port for communication with a PC. Power supply and switching output are connected via phoenix strip terminal. |
| What does “piezoresistive” mean? By changing the pressure, a thin membrane deforms on which a resistor bridge is mounted on the rear. These piezoresisitive resistors change with strain and pressure. The resulting deformation is used to measure the absolute pressure. |
| How to set the switching point? After the disassembly of the case which prevents accidental adjustment, the setting of the switching point is done with a potentiometer. The value of the switching point is displayed as a 0-1V analog signal for control purposes. |
| Can you display the measurement values? Yes, the measurement values are displayed as a 0-10 V analog signal. |
Related products
-
Compare
P_VD122 ● Set VD12 with VSC43MV ● 1400 to 1 mbar
€ 1,305.00 excl. VAT and transport costs View Product -
Compare
VSP Vacuum Transducer ● Pirani ● 1000 to 1e-4 mbar ● analog
€ 338.00 – € 362.00 excl. VAT and transport costs View Product -
Compare
P_VD124 ● Set VD12 with VSP63MV ● 1000 to 1e-4 mbar
€ 1,353.00 excl. VAT and transport costs View Product -
Compare
VSL Vacuum Transducers for loadlocks ● abs. 1200 bis 1e-4 mbar ● rel. -1060 … +340 mbar ● digital
€ 652.00 – € 1,006.00 excl. VAT and transport costs View Product
Further relevant products
-
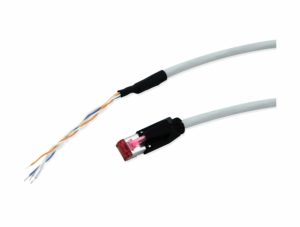
W08003xx Measuring cable ● with open ends ● for SP363MV
€ 36.00 – € 105.00 excl. VAT and transport costs View Product -
DCERT Works Calibration, digital
€ 190.00 excl. VAT and transport costs View Product -
CERT31P Inspection Certificate 3.1
€ 89.50 excl. VAT and transport costs View Product


